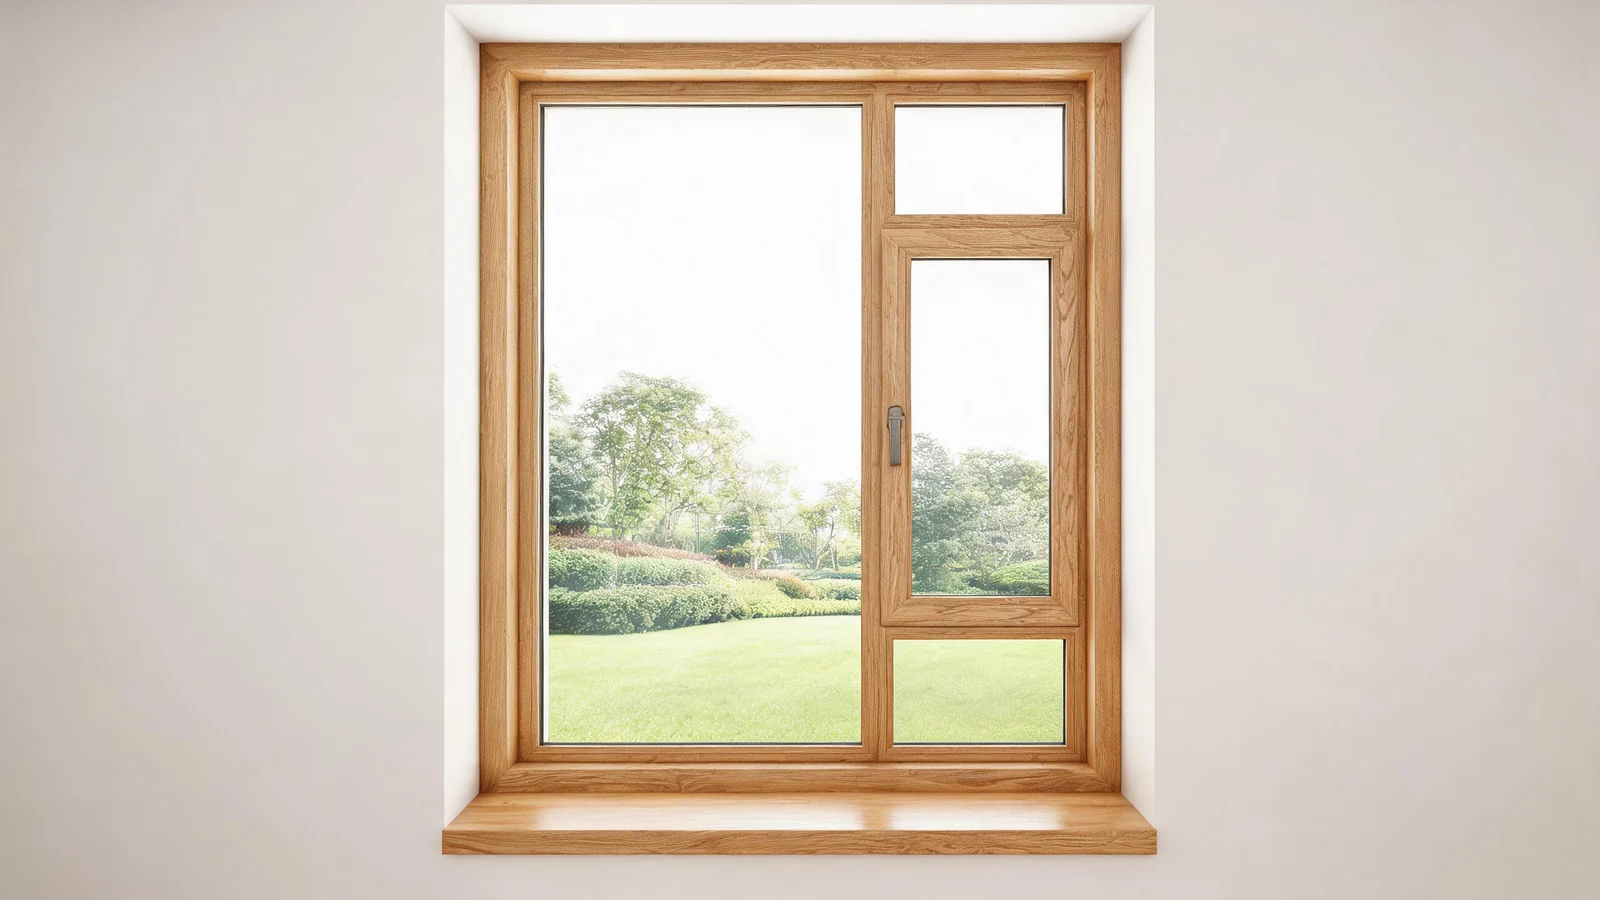
You found tilt and turn windows for sale, received quotes, and a drawing is taped to your desk. Some numbers match, some do not. Your job now is not to learn window engineering. It is to catch the order mismatches that cost you an afternoon with a return shipment or a sash that never opens in the nursery because the crib is in the way.
This checklist keeps that review strict and personal. It follows four rooms and the paperwork at the end. You will make one original worksheet as you go, marking each opening with a blank field you fill from the drawing, not from the seller's brochure.
1. Inward swing space, marked room by room
A tilt and turn sash tips toward you at the top for ventilation. In turn mode the entire sash swings inward like a door. Both movements need free space on your side of the wall. A quote can list the window size correctly and still leave you with a window you cannot pass or a vent mode you cannot use.
Take a printed floor plan of each room. For every opening, draw a quarter circle from the hinge side into the room. The radius is the sash width listed on the schedule, not a guess. Write one of three notes next to it:
- Clear if nothing inside that arc is taller than the sill height in turn mode.
- Turn only if tilt ventilation would hit a shelf, a lamp, a tap, or a wall cabinet.
- Blocked if the arc crosses furniture, a counter edge, or a door leaf in the open position.
Carry the drawing into the other rooms, too. Mark faucets, counters and furniture that could obstruct the inward swing. If an opening has an emergency escape role, have the project designer or local installer confirm the applicable requirements and proposed window configuration before ordering.
Your quotes probably differ here. One may offer a left hinge, another a right hinge, and a third does not say. Check the elevation view on each quote against an arrow you add to your own plan. Use the words "hinge left seen from inside" or "hinge right seen from inside" and do not let the supplier answer with a simple "yes". You want the drawing revised with that phrase printed beside the opening.
Do not treat turn mode as a small variation. A 30 inch wide sash opening into a hallway can block the bathroom door at night. Mark every turn arc that crosses a walking path. Then write in the blank on your worksheet: opening direction agreed for each room: ____________________.
2. Aluminum versus wood clad: matching the frame to the exposures
Now put the floor plan down and look at each wall from the outside. Your house does not need one window system everywhere. Some openings face rain, some face a covered porch, some get afternoon sun. Your quotes may list aluminum tilt and turn windows for all elevations, or aluminum clad wood tilt and turn windows for the front rooms. One is not universally better. The mistake is letting the quote decide for you by omission.
Make a simple table for yourself. Columns: room, exposure, overhang, interior humidity, frame on quote. Leave the last column blank at first. Rows: kitchen, bath, bedroom, living room, utility. Fill the exposure and overhang from your site photos, not from memory. The interior humidity row gets a guess: high for bath and kitchen, low for bedrooms, seasonal for living rooms.
Now read the quotes. A pure aluminum tilt and turn window uses an aluminum frame. An aluminum clad wood version has solid wood inside and protective aluminum cladding outside. Both can work in many houses, but the choice should show up on the schedule for each room, not as a global note.
Do not accept a quote that says "frames as per standard". Ask the supplier to break the schedule down by room and by frame type. If a quote lists aluminum for the bath and wood clad for the living room, mark it. If it lists the same frame everywhere without a reason, call it out. You are not asking for engineering advice. You are asking for the frame material column to match the exposure column on your own table.
Here is a decision test you can write as a question to the supplier: "For each room in the attached schedule, please state the frame material and finish, and confirm it has been selected for the exposure and interior use shown." Keep it neutral. You want a written answer, not a phone explanation.
Your final note on this section: frame material per room: ____________________. Put the answer in your own worksheet after you receive the revised schedule.
3. Handle and hinge detail: one viewpoint, no shorthand
This is the section buyers skip because the drawing seems self explanatory. It is not. Hinges and handles on a tilt and turn window are handed, and handedness depends on where you stand. A hinge marked "left" on an elevation drawn from outside means the opposite side from the same window seen inside.
Open your quote and find the hardware line. If it says only "tilt and turn hardware" or "standard hinges", you have an incomplete offer. You do not need a part number today, but you do need the opening direction unambiguously on the document you will sign.
Pick one viewpoint for the whole order. Write at the top of your window schedule: All hinge and handle references below are as viewed from inside the building. Then walk every opening on your floor plan. At each one, write:
- Hinge side: left or right as seen from inside.
- Handle position: where on the sash you expect it, using a simple note like "bottom center, inside" or "side, inside".
- Opening sequence: what a person does to get from closed to tilt, and from closed to turn. Do not guess. Ask the supplier to describe the sequence for the model quoted.
The last point matters more than you think. Some hardware releases the sash into tilt first, then allows turn only after a second movement. Some designs need the handle in a specific position before you can change modes. A supplier video can show this. Ask for one. You are not buying a mystery.
Now compare your notes to each quote. The quote that spells out hinge side for every opening using your inside viewpoint is the one you can verify later. The quote that merely says "hinges per plan" shifts the risk to you. Ask for a revision. No need to demand engineering notation. A simple table works:
| Room and opening ID | Hinge side (seen from inside) | Handle position | Turn arc conflicts |
|---|---|---|---|
| Kitchen, W3 | Left | Bottom center | None |
| Bath, W1 | Right | Side, middle | Turn arc hits towel bar at 40 in |
| Living, W5 | Right | Bottom center | None |
| Utility, W2 | Left | Bottom center | Tilt blocked by shelf |
Your table will have your own opening IDs. The point is to make the hardware description explicit enough that you can hold a sash in your hand later and know whether it matches the order.
When you send the table back, do not start with "I assume". Write: "Please modify the schedule to show each opening's hinge side using the inside viewpoint stated above, and confirm the handle positions in the table." That is a document instruction, not a design lesson.
4. Glazing documentation: numbers you can compare, not adjectives
Glazing is where window quotes turn poetic. "High performance glass", "low E", "warm edge", "energy saving" appear without numbers. You are buying a fenestration product, not a feeling.
Look at each proposal for the following items:
- Glazing composition: how many panes, what coating on which surface, what gas fill if any. Example: "triple pane, one low E coating on surface 2, argon fill".
- Frame and glazing thermal values: U factor and solar heat gain coefficient or SHGC for the actual configuration. If the quote gives a range, ask for the specific value for each size and frame type.
- Visible transmittance: a number, not "bright" or "clear".
- Condensation resistance if available, especially for bedrooms.
Do not accept a quote that claims "energy efficient" without a label. An independent rating label such as an NFRC label gives you a way to compare products on the same scale. The National Fenestration Rating Council explains what the NFRC label tells you, including lower U factor meaning less heat transfer and SHGC describing solar heat admission. A supplier can be honest and still not provide rated values for a custom configuration. If the values are not available, get a written note on the quotation saying which figures are preliminary and when they will be confirmed.
Glass selection also changes the feel of the window in turn mode. A triple pane unit is heavier than a double pane unit. The hinge hardware and the turn operation are matched to that weight by the supplier. If you change the glazing after the hardware is fixed, the sash may not behave the same way. Make the glazing choice before the hardware schedule is final, not after.
There is a practical order here. Pick the glass package first, or at least narrow it to one option per room. Then ask the hardware line to reference that glazing weight. Then keep the thermal values on file. Do not go back and substitute a lighter glazing to save a little cost without rechecking the hardware match.
Your worksheet blank for this section: glazing package per room, with U factor and SHGC from supplier: ____________________.
5. Opening restrictors, screens, and a working worksheet
For rooms used by children or pets, discuss opening control with the project designer and installer. Ask whether a compatible restrictor or other control is available for the exact window hardware and appropriate for the room. Record what has actually been agreed; an ordinary insect screen is not an opening safety device.
Go back to your room list. For each opening on an upper floor, write:
- Restrictor type offered: ____________________
- Release method: key, push button, child resistant cover, or other ____________________
- Can the sash still tilt with the restrictor engaged? ____________________
Do not assume a restrictor is included. Many tilt and turn windows are sold without one. If the quote does not list it, ask for a line item. Decide room by room. You may want a restrictor on a child's bedroom window, but not on a ground floor living room window that you use as a second entrance in summer.
Screens are another line item that appears on one quote and disappears on another. A tilt and turn window cannot use an ordinary fixed screen on the inside if you want full turn mode, because the sash swings inward through that plane. The supplier may offer an interior screen that mounts differently, or an exterior screen, or no screen option for the turn configuration. Ask specifically:
- Screen type available for this model: ____________________
- Mount location: inside, outside, or none ____________________
- Can the screen stay in place during tilt mode? ____________________
- Can the screen stay in place during turn mode? ____________________
The answer may be no for turn mode. That is fine. You may choose screens only on windows where you mostly use tilt ventilation. But know the limitation before signing.
Now create your master worksheet. You can make it by hand on graph paper or in a spreadsheet. The point is to have one page per opening with the same blanks:
Opening ID: ____________________
Room and exposure: ____________________
Frame material and finish: ____________________
Glazing package and thermal values: ____________________
Hinge side seen from inside: ____________________
Handle position: ____________________
Restrictor type: ____________________
Screen type and mount: ____________________
Turn arc conflicts noted on plan: ____________________
Final drawing revision received: ____________________
Leave the last blank empty until the supplier sends a revised schedule that matches every other line. If a quote cannot support this level of detail, you have learned something about the supplier's process.
This worksheet is your own decision prompt. It forces every quote to answer the same questions in the same order. Place the quotes side by side and fill one column per supplier. The blank that stays empty on a quote is the one that costs you later.
For example, imagine a ground floor kitchen window, opening W3. The drawing shows a 48 inch wide window next to a counter. Your turn arc from the left hinge sweeps across the counter edge. A quote with no hinge note might be assumed left hinged and clear, but the counter puts the arc into conflict. You mark "turn arc conflicts with counter" on the worksheet. A quote with a right hinge avoids the conflict entirely. That single line, written before signing, changes which quote works. This is not a measurement or a price claim. It is a sequence you can apply to your own drawing.
6. What to send and keep before you sign
You are nearly ready to choose. But there is one more paper trail to build. A good order does not end with a signed quotation. It ends with a packet you can hold against the delivered windows.
Before you pay a deposit or sign a purchase order, assemble these items from the supplier:
- Revised window schedule, with every opening listed, the frame and glazing per row, and the hinge and handle table using the inside viewpoint.
- Drawing revision number and date marked on every page. If the drawing is not revision controlled, ask for a dated PDF with a unique file name.
- Hardware description per opening, not a general cut sheet. One line per window.
- Glazing performance documents for the specific configuration, including any independent rating labels and product data sheets.
- Screen and restrictor details where included, with a photo or cut sheet for each.
- Installation and adjustment guidance in writing or video. Many suppliers provide this remotely. Ask for the version that matches your hardware.
- Your own completed worksheet, signed and dated, with the supplier's written confirmation that it matches the final order.
Check the energy claims against a neutral reference. The U.S. Department of Energy explains how windows lose and gain heat and why frame and glazing choices depend on climate. Use it to understand terms, not to expect a single number for your house.
When you have all the blanks filled, put the worksheet on top of the quote. If the quote says "as per attached schedule" but the schedule is still the old version, wait. Ask for the consolidated document. Signing a quote with an outdated drawing is how order errors become your problem instead of the supplier's.
The last section of your paper packet is the handover checklist. It lists what you will check when the windows arrive. Open the turn arc drawing again. Verify the hinge side on the first sash you unwrap. Check the glazing label, not the frame sticker. Have the installer demonstrate both operating modes after installation, following the instructions for the supplied hardware. If something does not match the worksheet, stop and photograph the label and the hardware before you call the supplier.
Do not accept a delivery note before this check. Once you sign for the goods, the mismatch becomes a claim rather than a simple swap. That delay is avoidable. The checklist you built in your kitchen, not in the supplier's office, is the tool that prevents it.